Building structured forms in OpenCart has historically meant one of two things: hiring a developer or living with the default contact page and hoping it covers everything. Neither is a good answer for a growing store. An OpenCart survey and feedback tool, such as OpenCart Survey Plugin by Knowband, handles NPS, product reviews, and enquiries from one admin panel, removing that choice entirely.
This post walks through three specific form types, product feedback, NPS, and contact, and shows exactly how to build each one using OpenCart Form Studio. No SQL. No template edits. No developer on call.
Why the Default OpenCart Contact Page Is Not Enough for Real Customer Data Collection
The built-in contact page captures a name, email, and message. That is it. Store owners who want structured product feedback, a post-purchase survey, or a segmented enquiry form have to either build something custom or accept that they will not get the data they need.
According to a 2023 Medallia study, companies that actively close the feedback loop see customer retention rates up to 55% higher than those that do not. The gap between wanting customer feedback and having a system to collect it reliably is a real business cost, not just a convenience issue.
The OpenCart Survey Plugin addresses this by replacing the patchwork of workarounds with a single extension that handles unlimited form types, each with its own placement rules, email routing, and submission log.
How to Build a Product Feedback Form in OpenCart
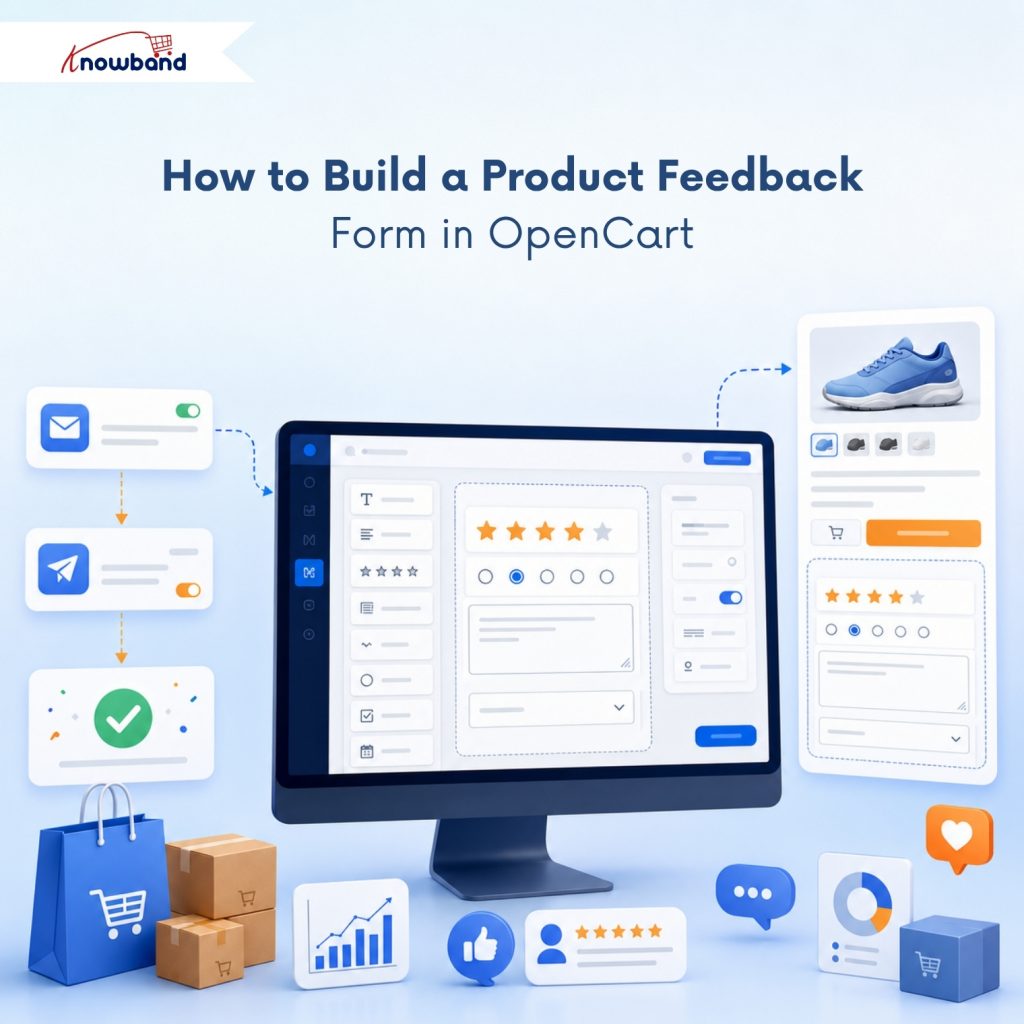
A product feedback form needs four things: a rating mechanism, a comment field, an identifier for which product is being reviewed, and a confirmation that the submission was received.
In OpenCart Form Studio, open the Forms section and click Add New Form. Name it “Product Feedback,” set a slug, and head to the Form tab. Add a row, select a single-column layout, and drop in a radio button field, set the options to 1 through 5. Add a second row with a textarea for written comments. Add a third row with a dropdown listing your product categories so the submission has context.
In the Mail tab, configure the admin notification with the dynamic field tags so the rating and comment appear directly in the email. Set up the auto-responder to confirm receipt to the customer. Then go to the Placements tab, select Product under Layouts, and tick Content Bottom under Positions. The form appears below the product description on every product page without touching a single theme file.
Building an NPS Survey That Appears After Purchase
Net Promoter Score surveys work best when they appear at the right moment, after a customer has completed an order, not before. The OpenCart Survey Plugin handles this through the Checkout layout placement combined with a post-submission redirect.
Create a new form. In the Form tab, add a row with a radio button field labelled “How likely are you to recommend us to a friend?” Set the options from 0 to 10. Add a second row with a textarea: “What is the main reason for your score?” Keep it to two questions; NPS surveys that run longer than two fields see completion rates drop sharply.
In the Thank You Page tab, set Display Thank You Page to Yes, write a short confirmation message, and redirect to the order confirmation page or a dedicated URL using the Custom URL option. Head to Placements, select Checkout, and tick Content Bottom. For customers who should not see the survey on repeat visits, the Customer Groups setting in the Settings tab lets you restrict visibility to specific groups.
Setting Up a Structured Contact Form to Replace the Default Page
The default contact page does not support file uploads, does not route submissions to different team members by category, and does not give the customer a confirmation email. A no-code form builder that covers all three of those gaps changes how enquiries actually get handled.
Build a new form with the following fields: Name (text), Email (email with validation), Enquiry Type (dropdown: Order Issue, Product Question, Partnership, Other), Message (textarea), and an optional File field for attachments. The File field accepts formats you specify, JPG, PNG, PDF, and ZIP, with a size limit you set per form.
In the Mail tab, add multiple recipients to the Email to Admin sub-tab using the + To button, routing different enquiry types to the right inbox manually or setting up BCC for a second handler. The auto-responder gives the customer immediate confirmation so they are not left wondering whether their message arrived.
This form can sit on its own standalone URL, set the slug in the Info tab, and enable the separate form page, or embed anywhere via shortcode using the [kbcf-form id=1] format in any CMS content area.
Connecting Survey and Form Submissions to Your Email Marketing List
Any form that captures an email address can sync to Mailchimp or Brevo automatically. Open the Synchronisation tab in the form, enable the provider, paste the API key, and map the Email field to the corresponding provider field. From that point, every submission adds the customer to the selected audience or list in real time.
For an NPS survey, this creates a useful segmentation opportunity. Customers who submit a score of 9 or 10 can be tagged separately in Mailchimp using custom field mapping and targeted with referral or review request campaigns. The Brevo integration follows the same field-mapping logic.
What Happens to Submissions After They Come In
Every submission from every form, product feedback, NPS, contact, and lead generation appears in the Form Submissions panel. Filter by form name, replied status, or submission content. Click any row to open the full entry and reply directly from the same screen, with the From, To, and Subject fields pre-filled from the original submission. File attachments up to 8 MB can be included in replies.
This replaces the scattered inbox approach, where submissions land in email and get lost. Customer satisfaction data, complaint records, and enquiry threads stay in one place and are searchable by any admin with access.
Getting the OpenCart Form Builder Extension Live on Your Store
Installation follows the standard OpenCart module process: upload the ZIP via the Extensions Installer, click Install, then open the configuration panel. The OpenCart Survey Plugin works on OpenCart 3.x and requires PHP 7.2 or higher. Knowband provides a detailed user manual covering every configuration tab, from the spam blacklist to multilingual form labels.
The Cloudflare Turnstile spam protection is worth configuring from day one. Enable it in General Settings, paste the Site Key and Secret Key from your Cloudflare account, and drag the Turnstile field into any individual form. Bot submissions get blocked silently. Real customers see no puzzle or friction.
The complete OpenCart Form Builder Extension and survey tool is available on the Knowband product page. The user manual walks through every tab and setting for teams that want to review the full configuration before purchasing.
For more such reads, you can visit:
